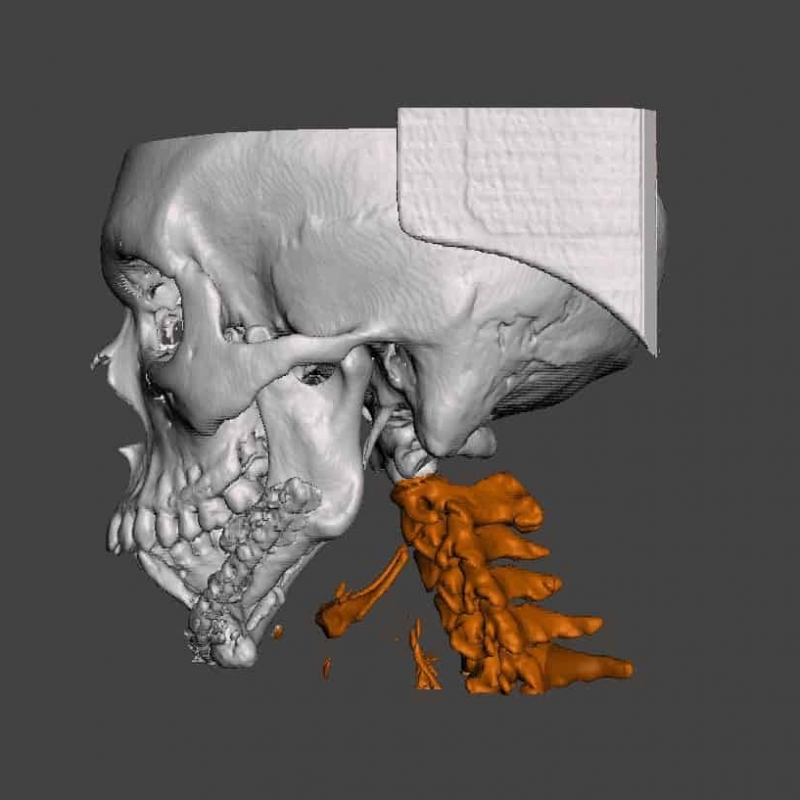
How to 3D print a DICOM file step by step tutorial
Since writing our introduction to 3D printing DICOM files we have received a lot of questions and requests for a more in-depth tutorial on how to 3D print a DICOM file so we have put together a detailed workflow which we hope will help you. In this tutorial we cover step by step how to 3D print a DICOM file by converting it to an STL and isolating the data we are interested in. We wrote this guide to help clinicians, students and others interested in the field adopt a simple to follow, time efficient efficient digital workflow when working with less complex cases. It is intended to require no upfront investment in software licenses or special hardware and will get you up and running quickly. The process we outline below will be very effective for 90% of cases and is very repeatable across all types of anatomy. By the end you will have a watertight STL model ready to 3D print.
If you are not familiar with 3D printing DICOM files and haven’t already done so already we recommend you read our introduction to 3D printing DICOM files before this tutorial. If you have any questions about your specific case feel free to get in touch with us, our contact details are at the bottom of the page.
Step 1: Download the software
In order to 3D print a DICOM file you will need a few pieces of software. There are a few options to chose from, some are free and some require a paid license. In this tutorial we will be focusing on free software since they have all of the features you will need and provide a quick and easy way to start exploring this digital workflow
Converting from DICOM file to STL
STL models are the native format for 3D printing, they are a triangulated 3D mesh which all 3D printers and 3D printer software use. For PC users we recomend Invesalius for this step, it is freeware and is relatively simple to use. Another option is OsiriX but this is only available for Mac users. It is also available iOS devices which is a nice feature for demonstrating to patients.
Cleaning up and preparing your STL for 3D printing
Once you have your STL file you will need to clean it up. The clean up process removes noise, extraneous data and closes holes in the mesh. A watertight model is essential for successful 3D printing. For this we recommend Autodesk Mesh Mixer which is free to use, it is also simple and easy to learn. Another option is Meshlab, this is also free but has a considerably steeper learning curve.
Step 2: Convert the DICOM file
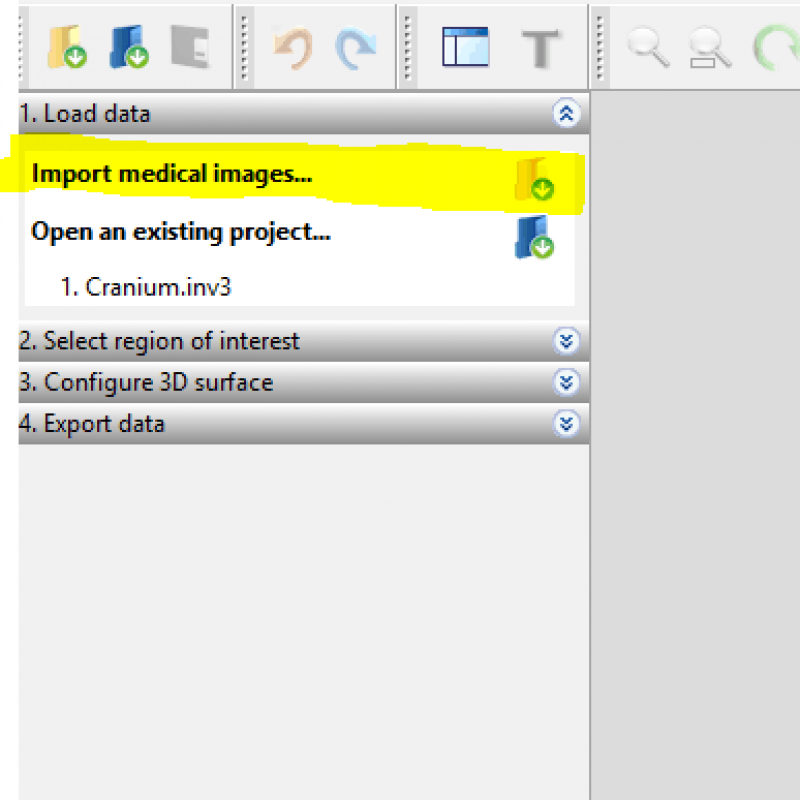
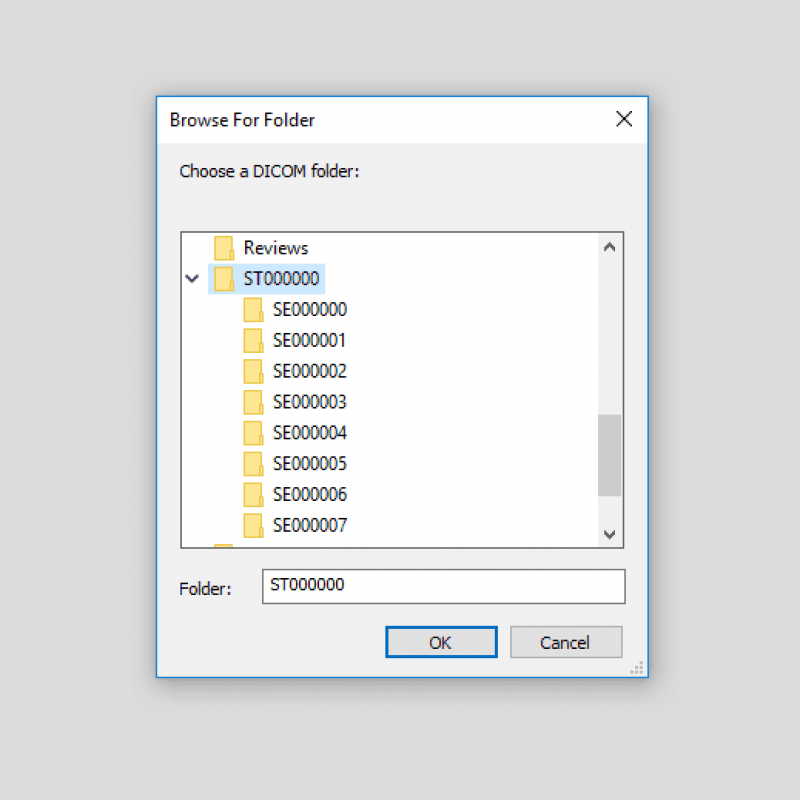
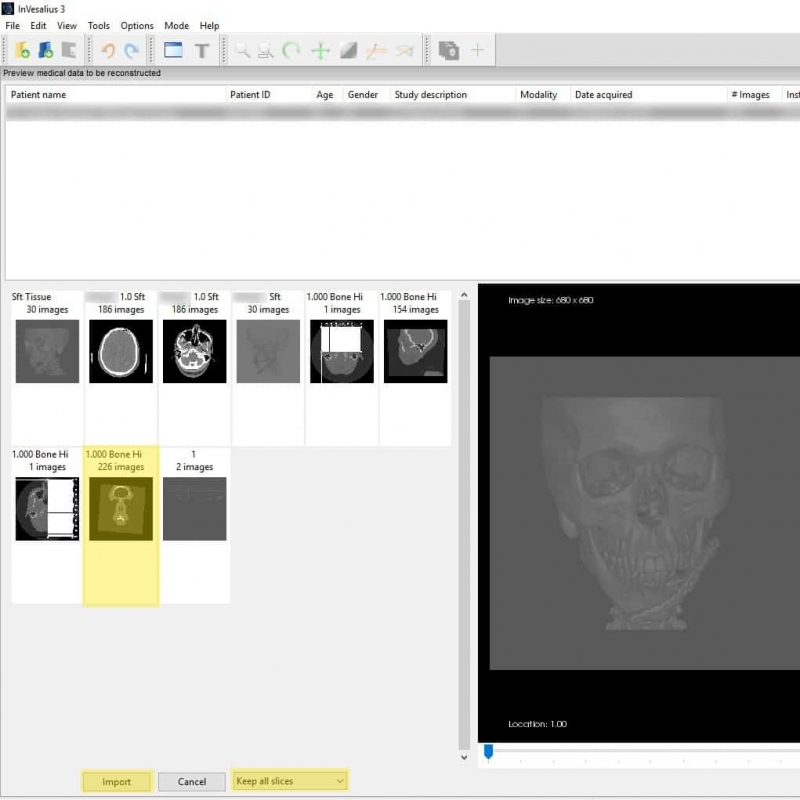
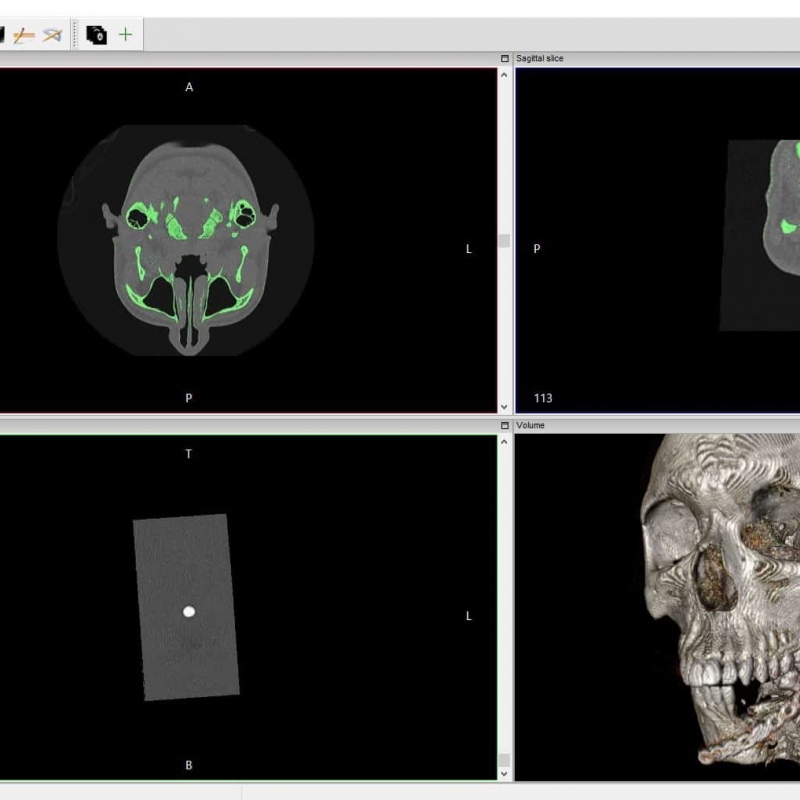
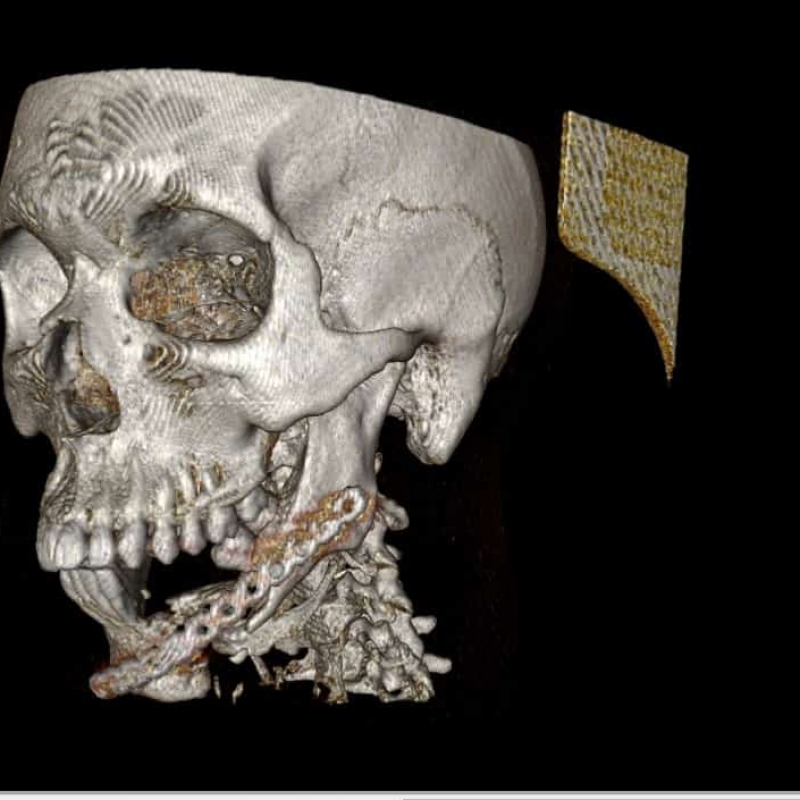
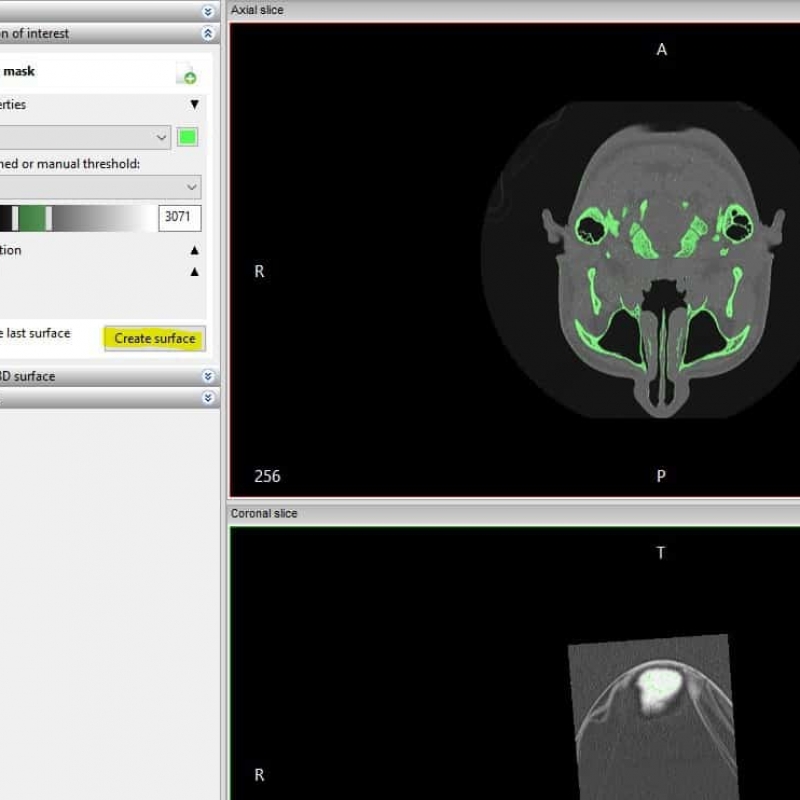
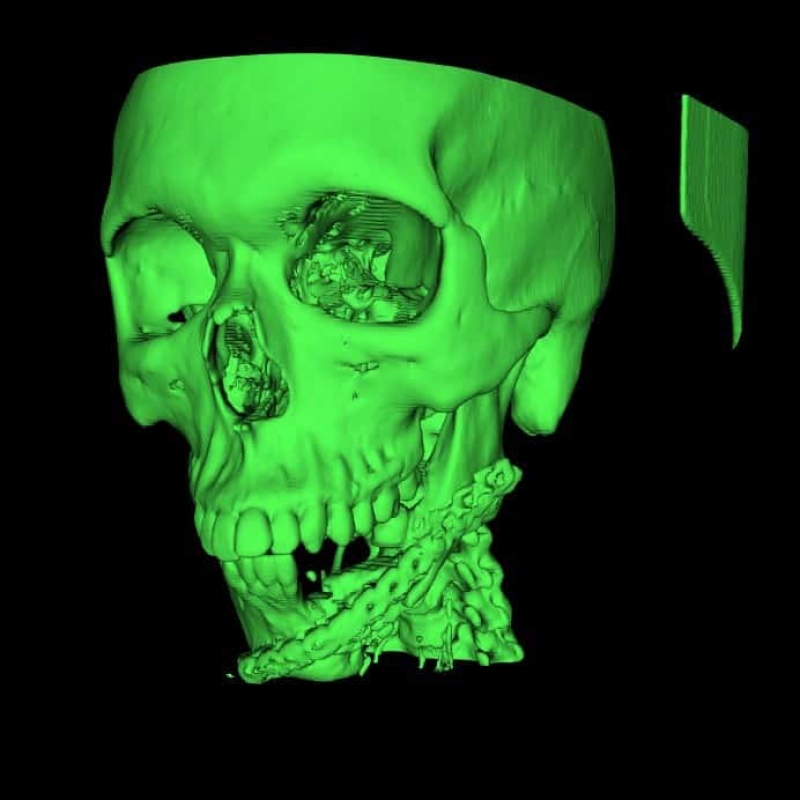
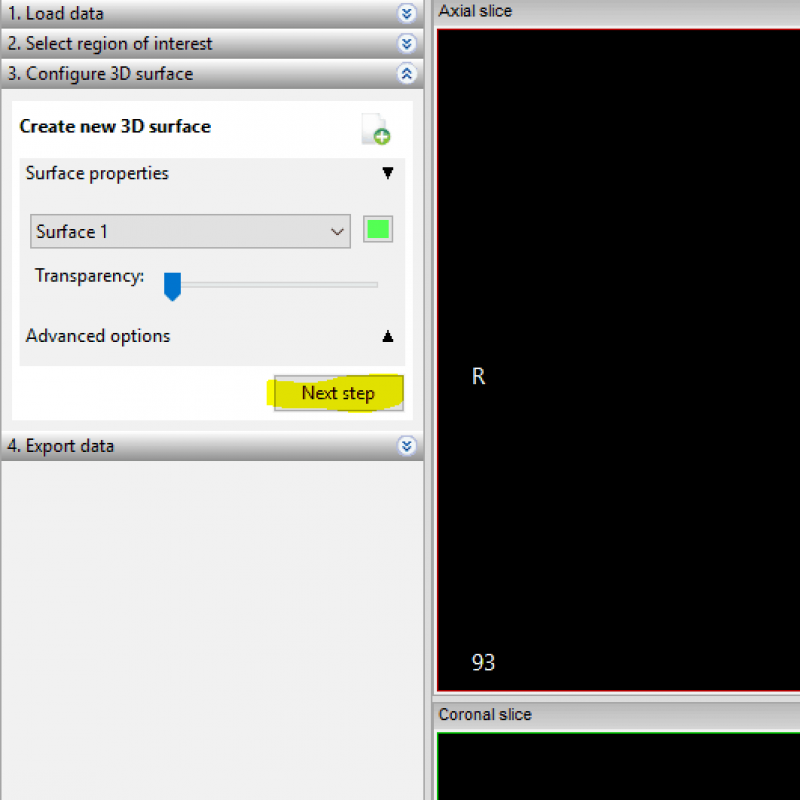
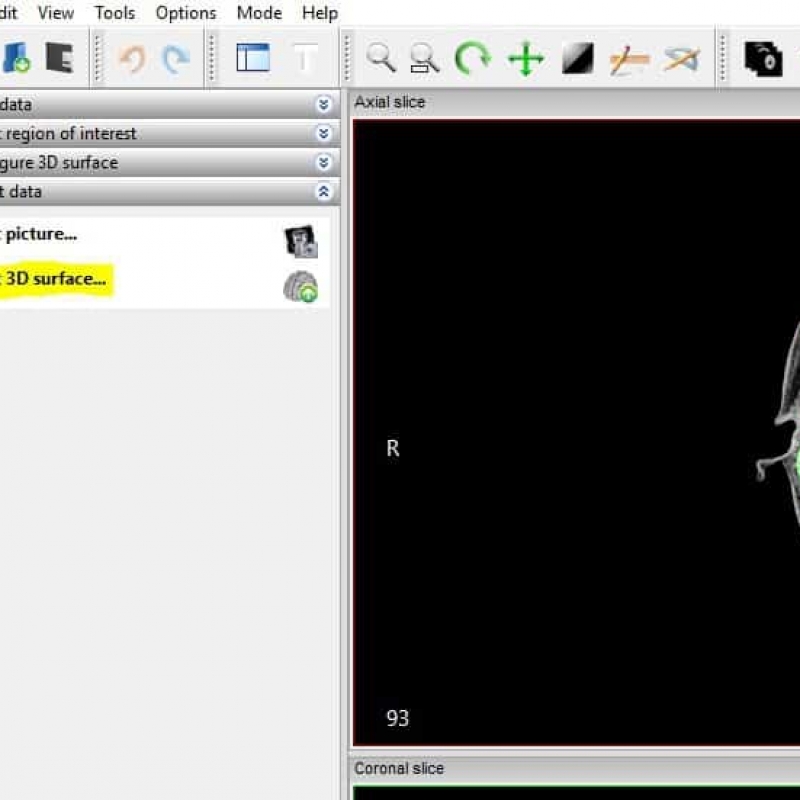
The first step to 3D print a DICOM file involves Invesalius. If you are using Osirix or another software to convert your DICOM the steps will be slightly different. In this step we will take our DICOM and convert them into a 3D mesh called an STL file.
Step 3: Prepare your STL for printing
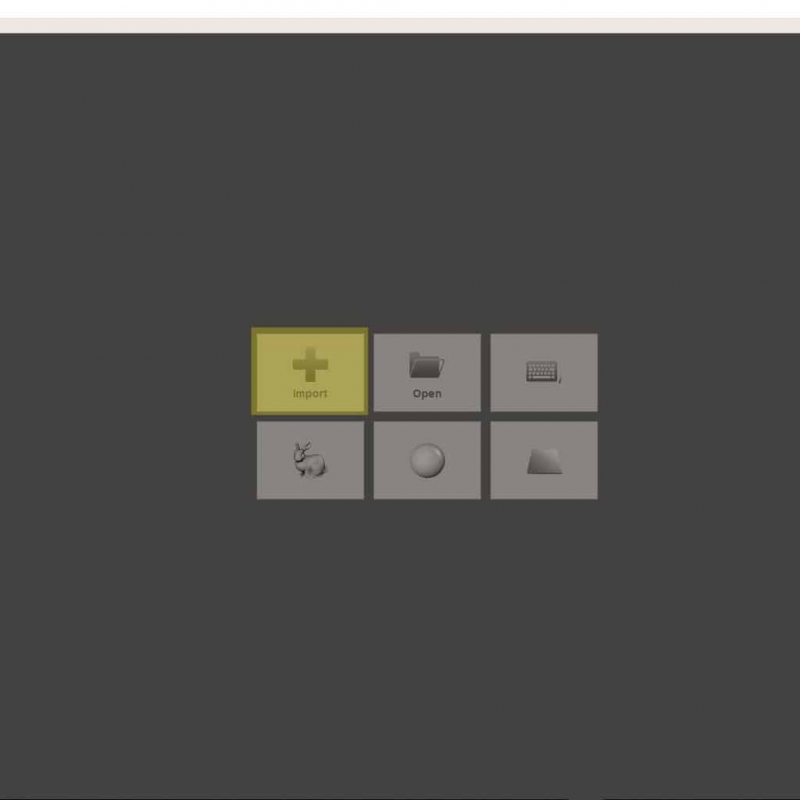
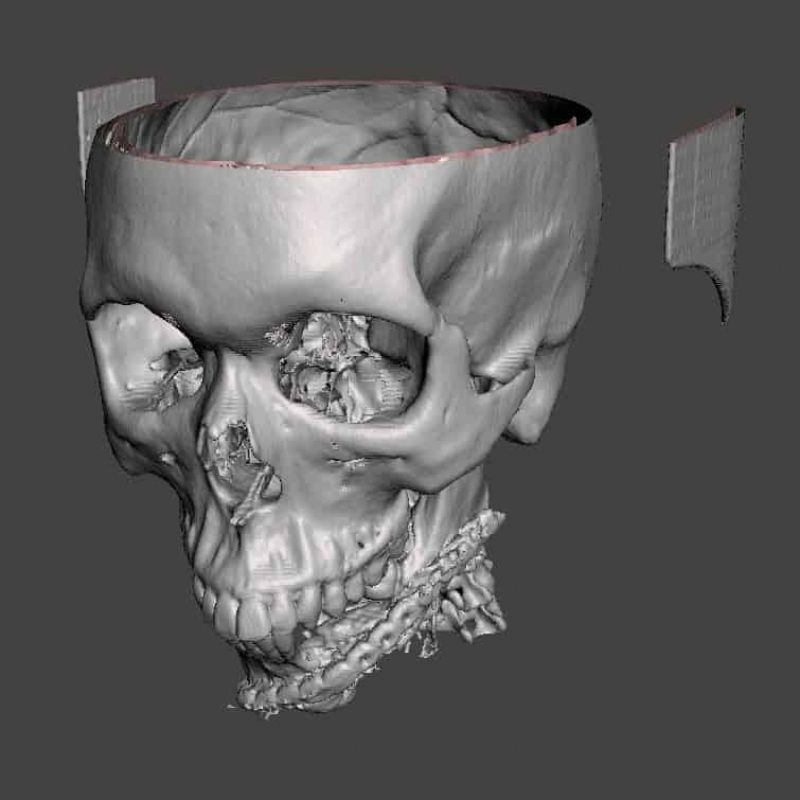
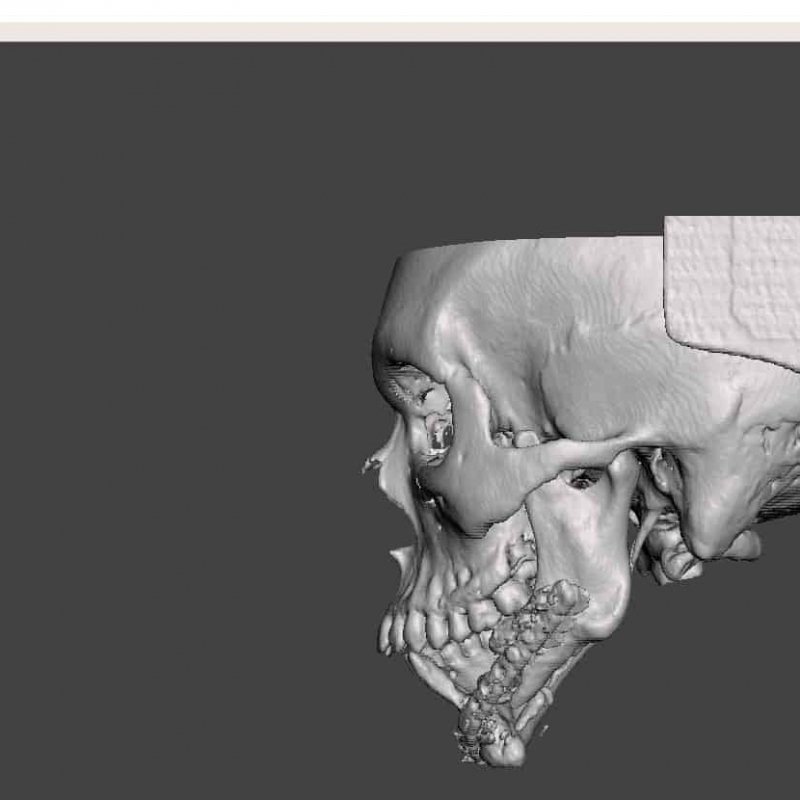
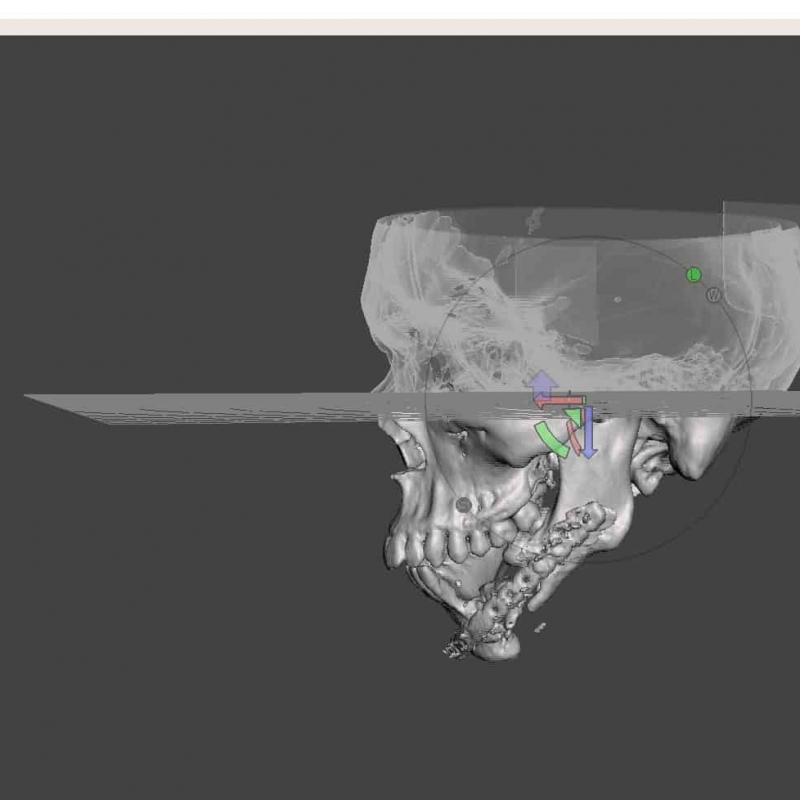
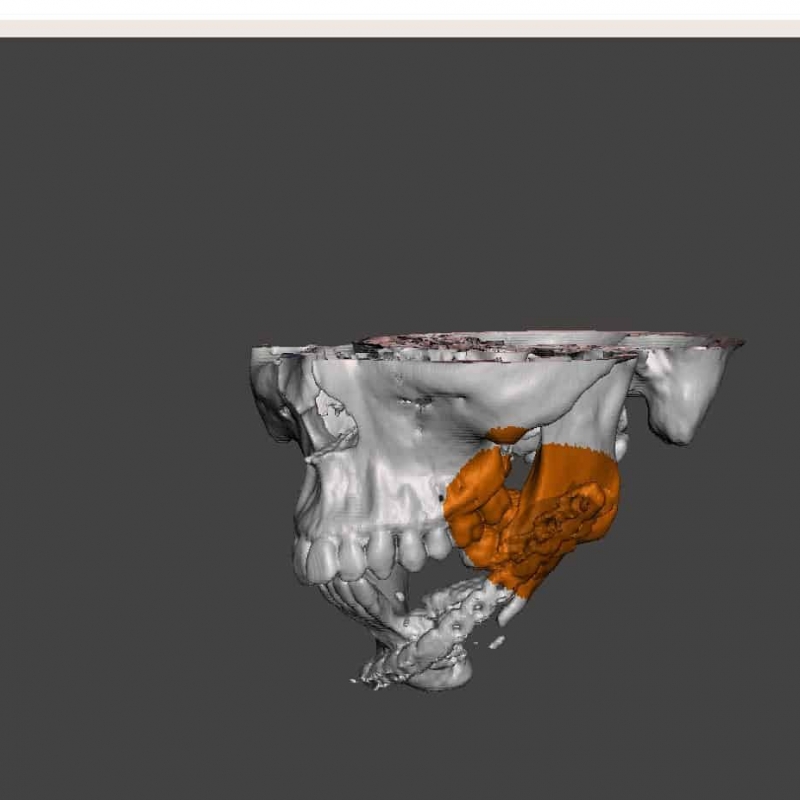
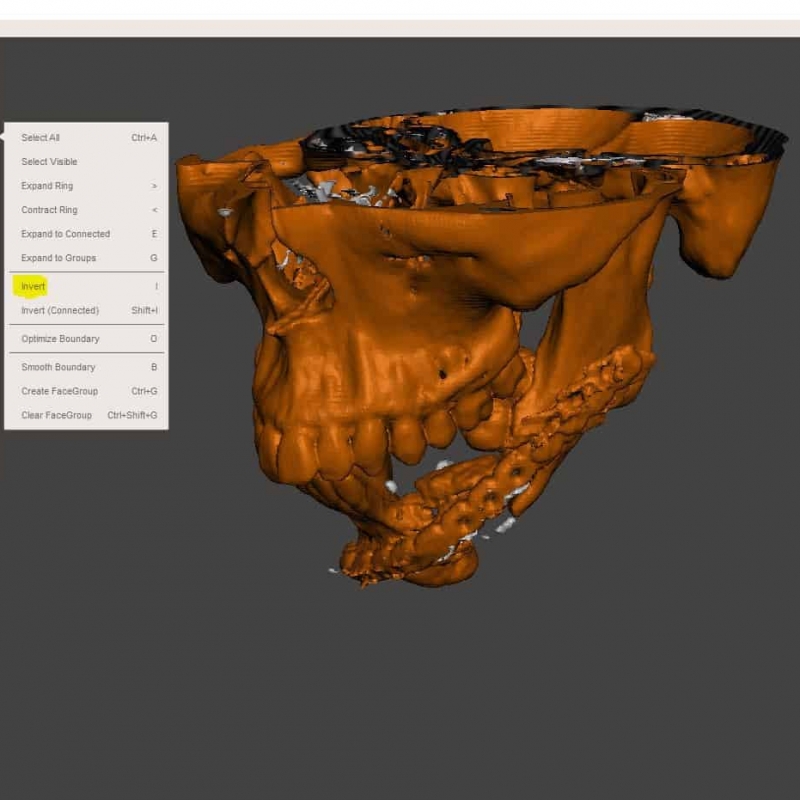
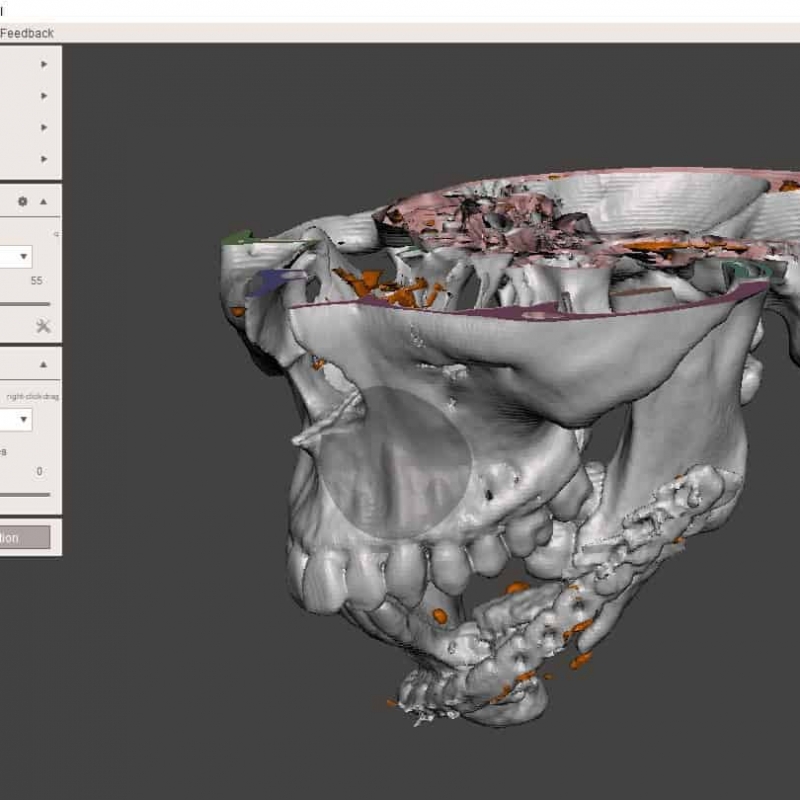
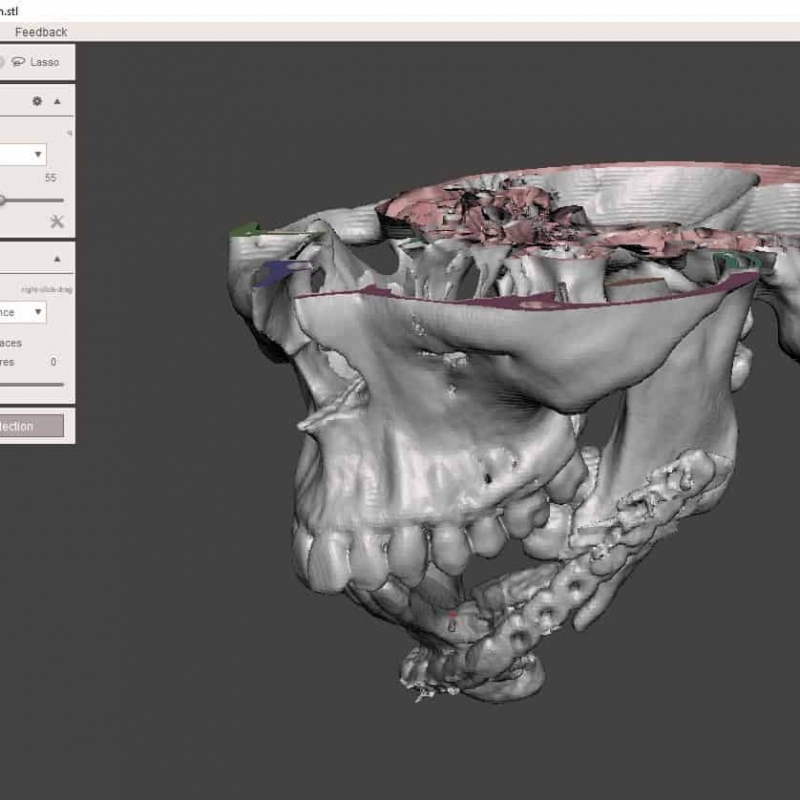
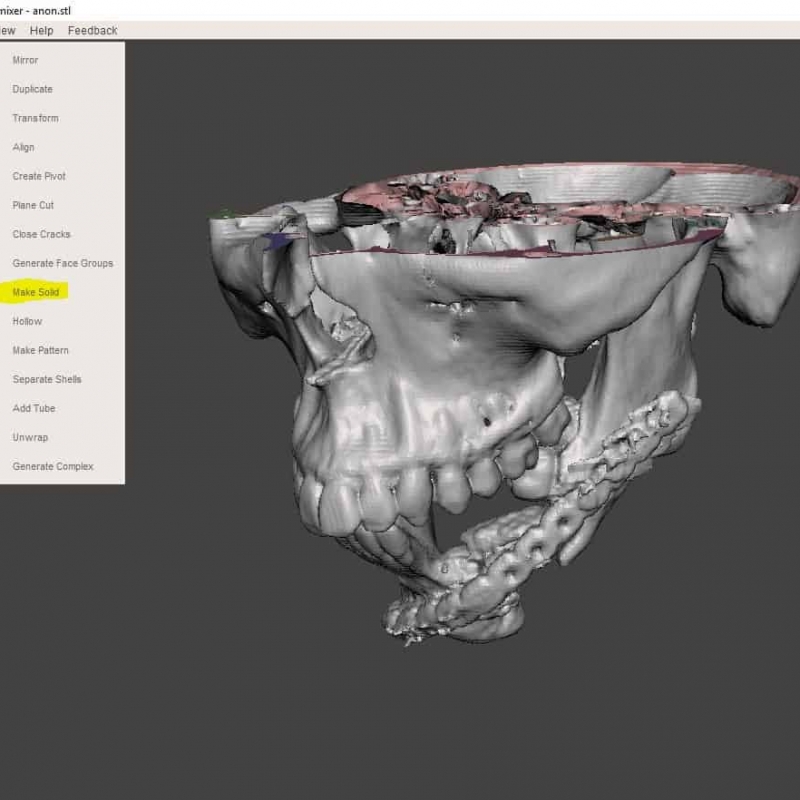
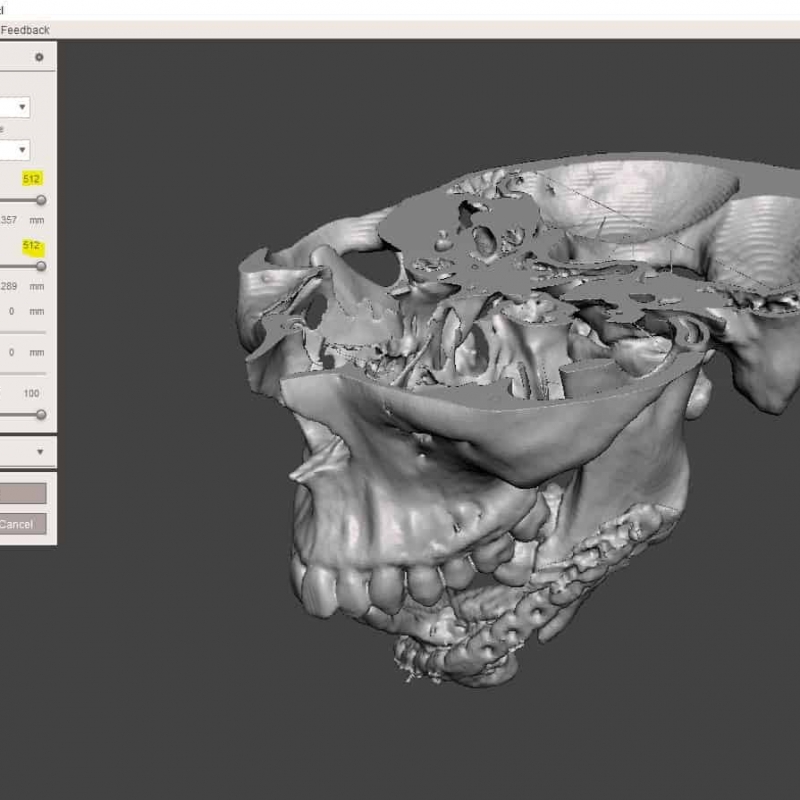
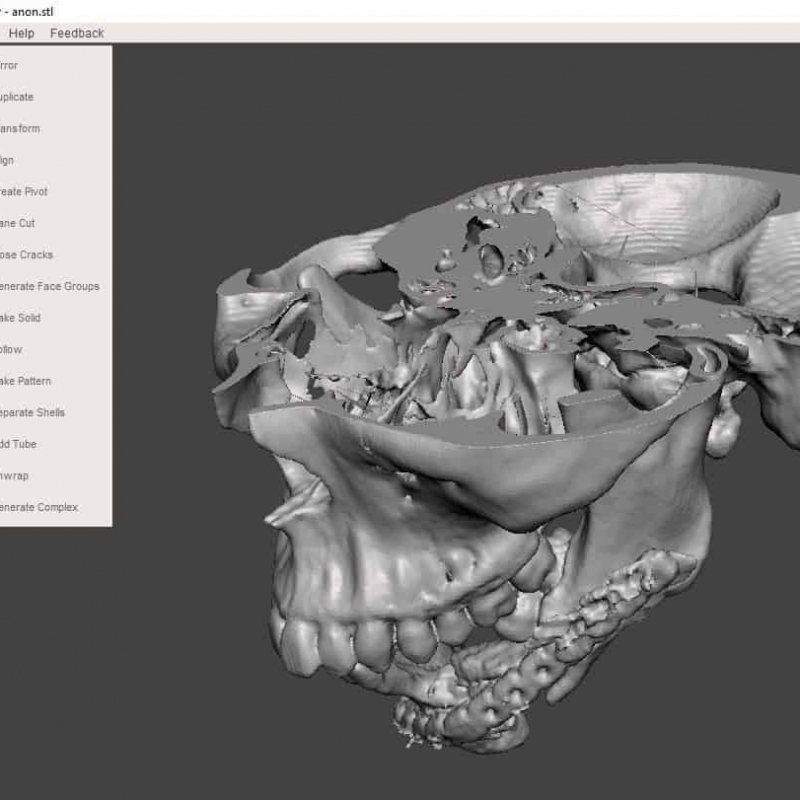
The next step to 3D print a DICOM file requires Mesh Mixer. This step involves removing unwanted data and closing holes in the mesh ready for printing. These steps will vary depending on your case but we will explain broadly the process you will need to take.
Step 4: 3D Print your STL models
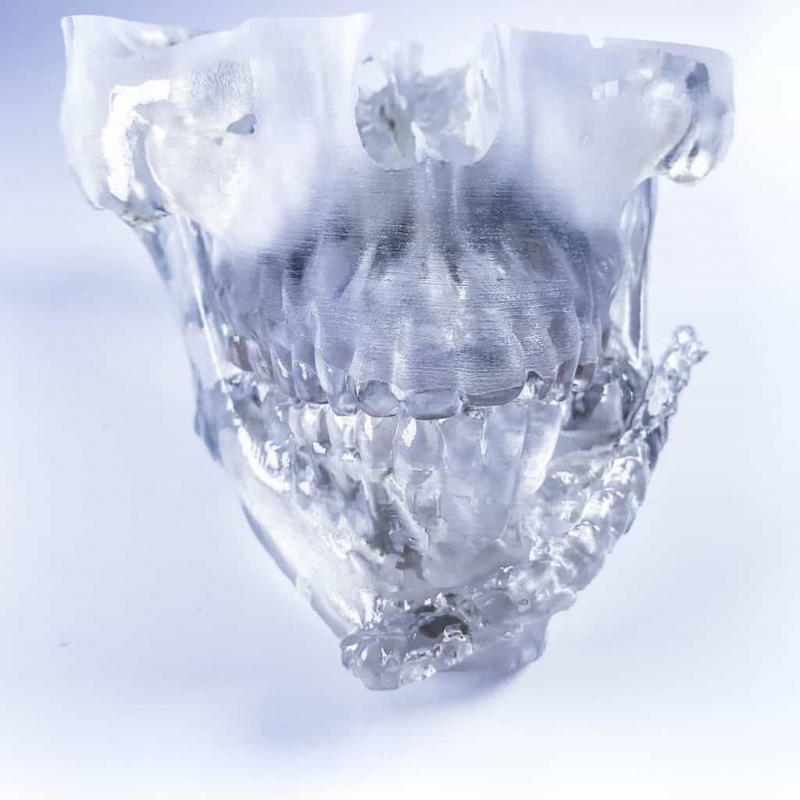
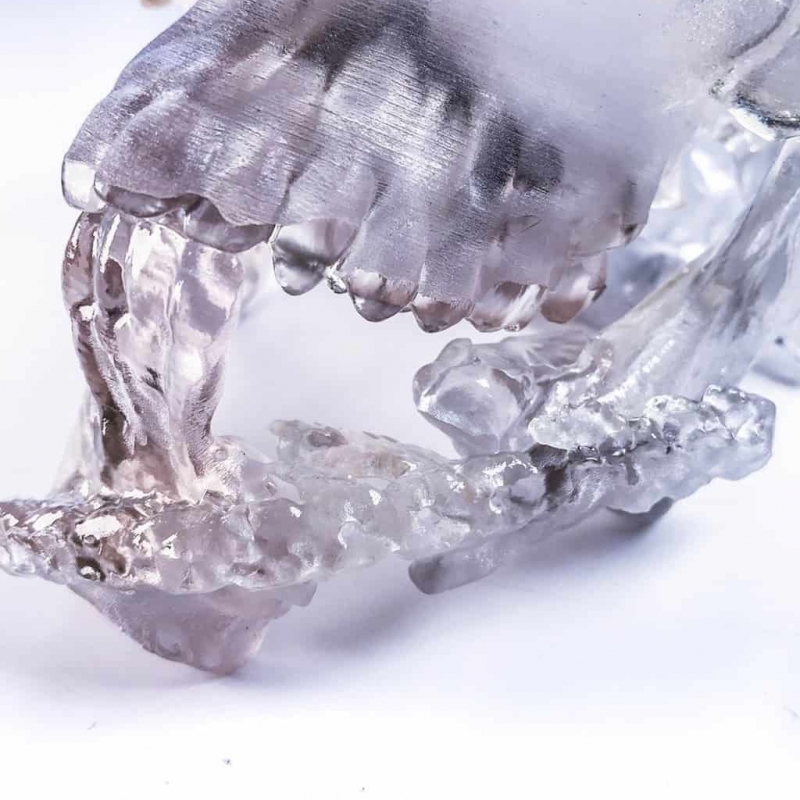
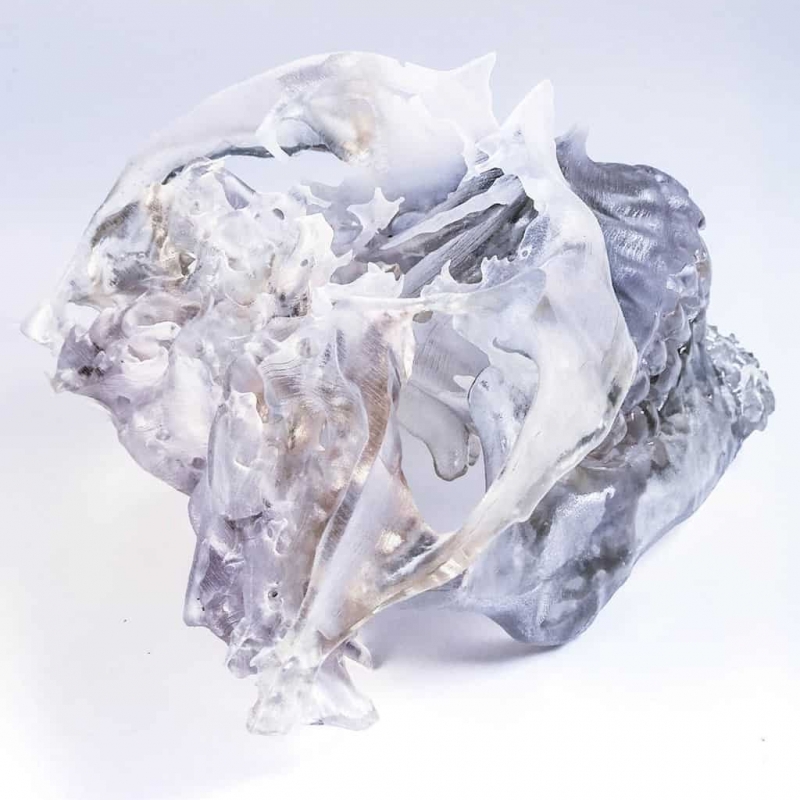
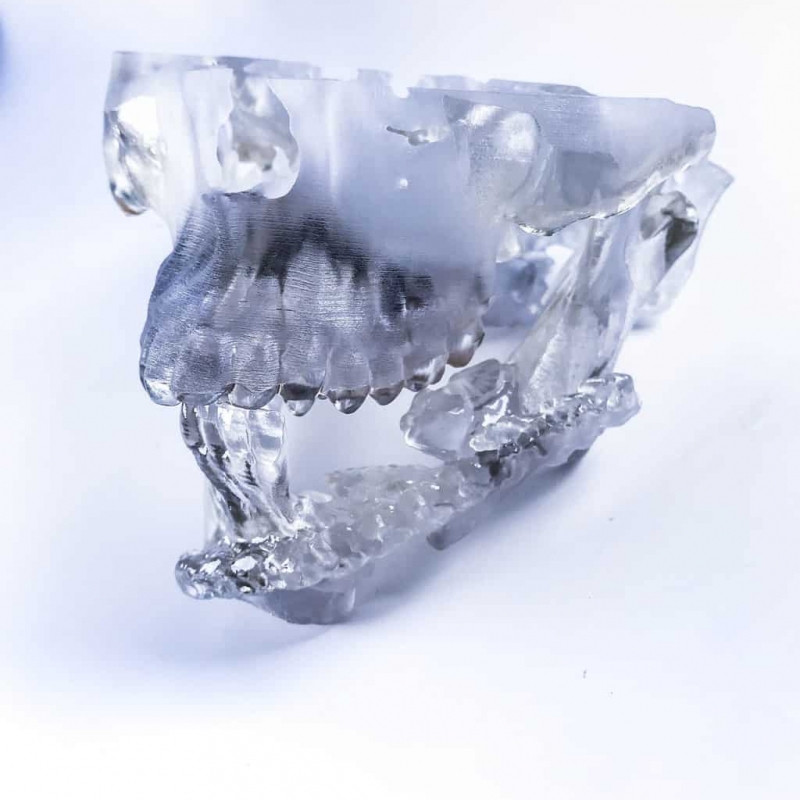
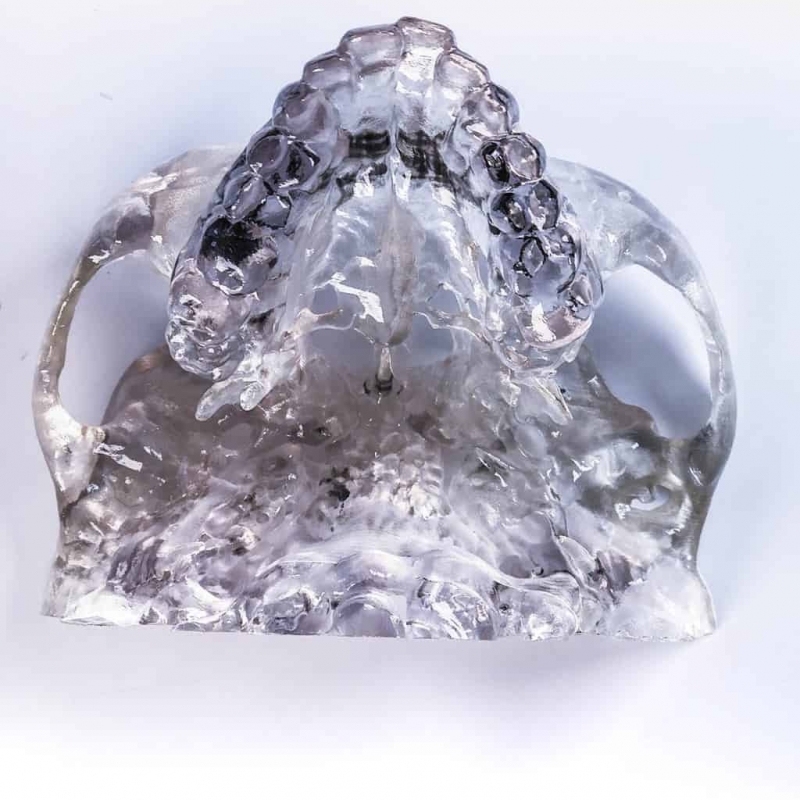
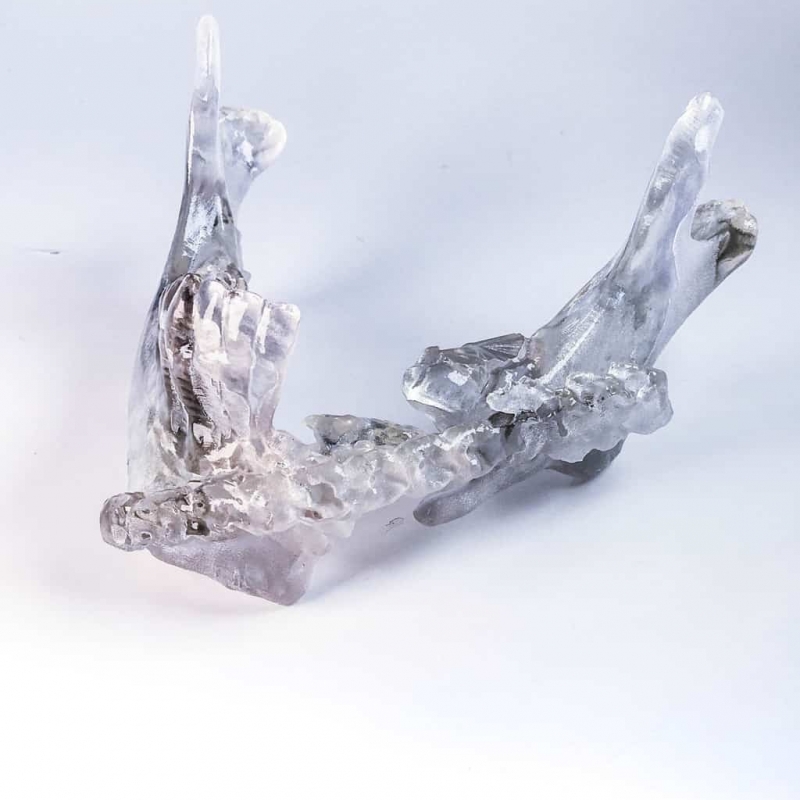
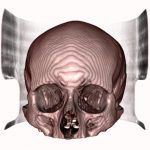
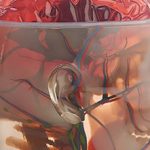
We printed the in Objet Vero Clear on our Objet Connex machine. This gave exceptional detail and accuracy and the clear material allowed for visualisation of the inside of the bone. The mandible was also separated the from the rest of the skull so the two could be manipulated independently.
Did you find this tutorial useful?
We would love to hear your thoughts, send us an email and let us know what you thought. If you found this tutorial useful please share it so that others can also benefit from it. If you have any questions about our process or would like to discuss a more complex case please call us on +44(0)117 325 8171 or send us an email to [email protected]
We offer consultation on your cases, software training and 3D printing of your models.


